Weekly Activities - Natural Flower Dyeing
- Keith

- May 27, 2021
- 2 min read
Main Activity: We talked with the children about what they can pick to use for the activity and where they could look for the plants, flowers and leaves on site. We discussed symmetry i.e. how if drawing a line down the middle of a shape it will be the same on both sides, like a mirror image. We also talked about symmetry in nature, such as people’s faces, butterflies, flowers and snowflakes.
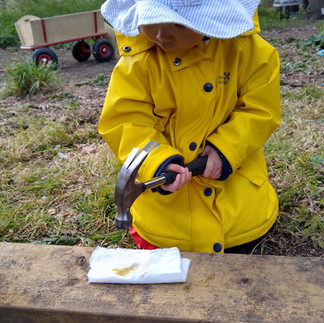
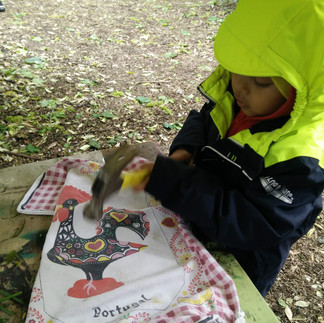
Before starting the activity we had a talk on how to use a hammer safely and to be mindful of those around them. We demonstrated the process by folding over a piece of watercolour paper and hammering our gathered flowers underneath, then opening the paper, removing the excess plant material and holding up the resulting print.
We asked the children to select natural materials with a high-water content, not ones that were decayed or dried out and encouraged them to make a pattern on one side of a folded line, then to sandwich it between either material or folded paper and to repeatedly hit the paper with a hammer all over until the natural dye visibly bled through the top side. We then opened out the material/paper and removed the excess plant material to reveal the natural symmetrical print.
Extension Activity: We encouraged the children to think about something symmetrical that they would like to print. We asked them why and what made them choose the natural materials that they picked. We encouraged them to count the natural materials they found as they placed them in position on the paper and we gave each child the opportunity to use technology by photographing either the natural objects that
they found or their natural dye pattern by using a phone camera and accessing/retrieving and looking at the digital photos that they had taken.
Home Activity: Follow the link below to try a dyed flower science experiment which involves the transfer of water through a plant. Your children (and perhaps even you) will be amazed! Please upload your home experiments to Tapestry.














Comments